How to Repair a Rusted Dishwasher Rack
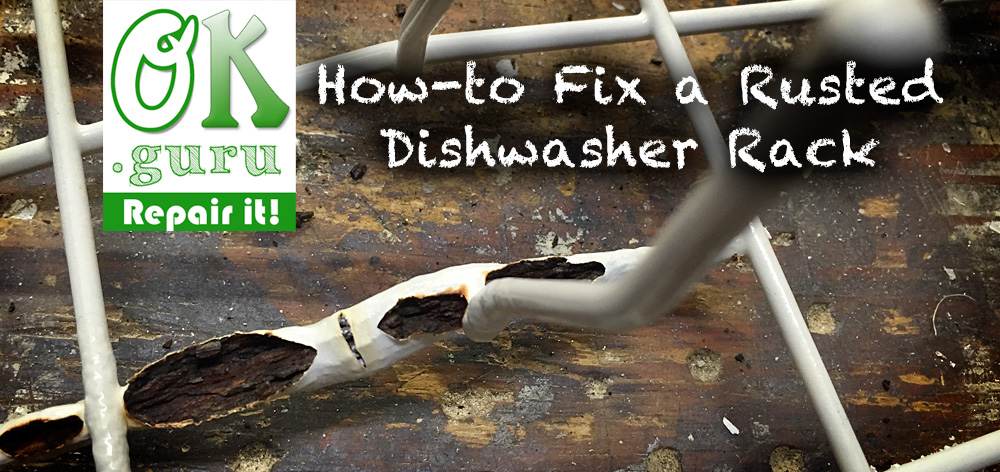
Has this happened to you: the tongs on your dishwasher rack start to get rusty or break off and you are start to yourself, “Am I eating rust? Can that be a good thing?” So if you are like us you look up your dishwasher part number on the internet to get replacement racks…and lo and behold, they cost $300 for the set…as much as a new dishwasher…but yours works fine, its just rusted out.
Save your time and money. For less than $30 and a few minutes of labor you can bring your racks back to new and repair them, while saving yet another perfectly good dishwasher from the garbage man.
How to Repair a Rusted Dishwasher Rack
Step 1:
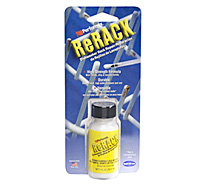
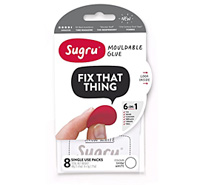
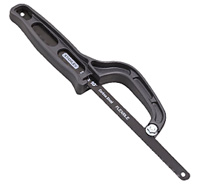
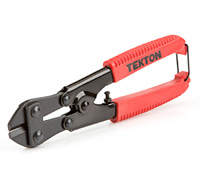
Head to Amazon and purchase ReRack and Sugru (pick your color, we chose white for ours.) You might also need either a small hack saw and/or heavy-duty wire cutter to remove the old rack parts that are past repair.
Step 2:
Remove the racks from the dishwasher and find a nice area to work on. You will make a mess once you start cutting off the rust, and the ReRack has a smell to it so the garage or outside might be a good place to work.
Step 3:
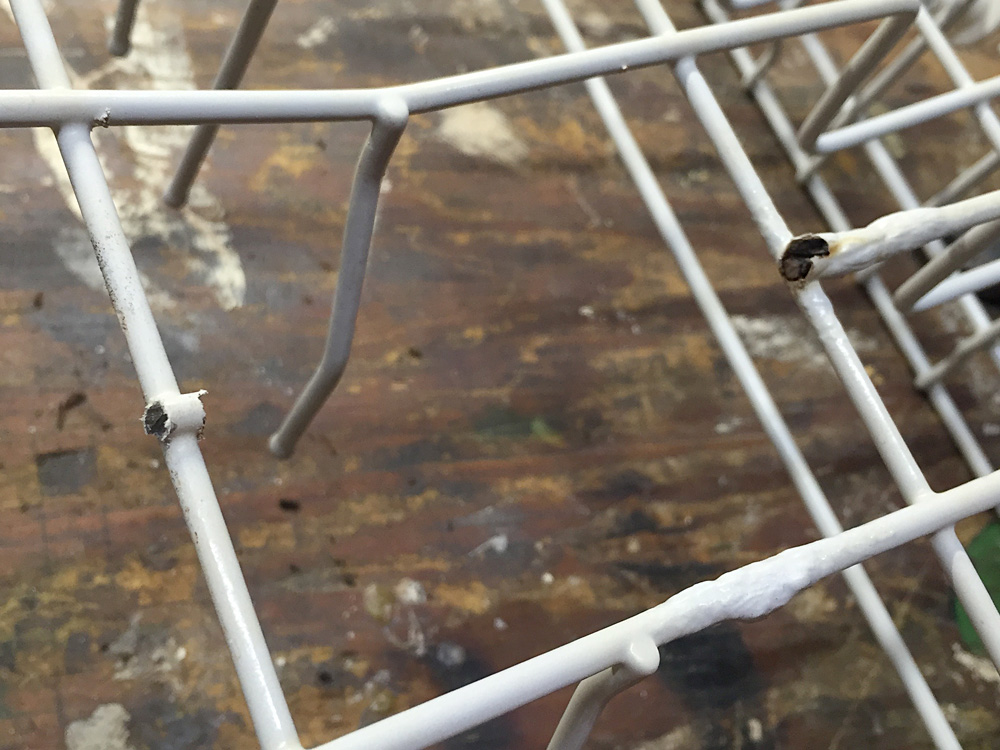
Clean off all the rust as best you can. In some cases if parts of the rack are too far gone you may need to remove entire sections, as we did. This is there the hacksaw comes in handy. I used the wire cutter to scrape off rust in other areas and in some cases to clip off pieces of rack.
Step 4:
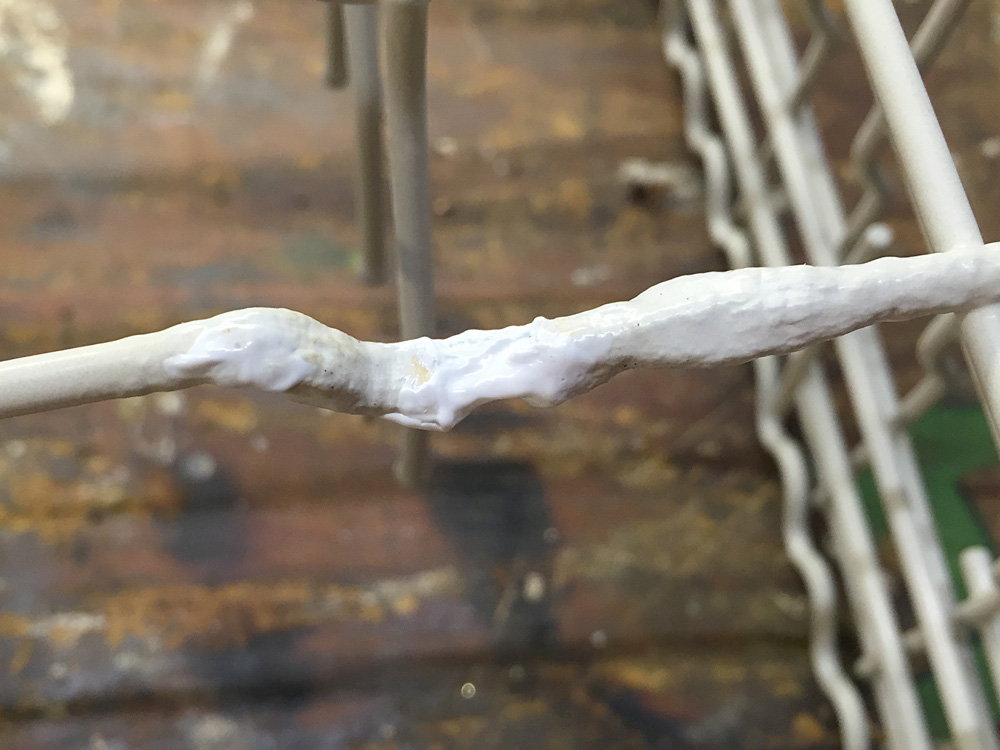
Once you’re satisfied that all the rust is gone, grab the bottle of ReRack. Using it like thick paint, start to coat the rust with it. We let it dry a few hours between coats, and applied 3 or more in some places.
Step 5:
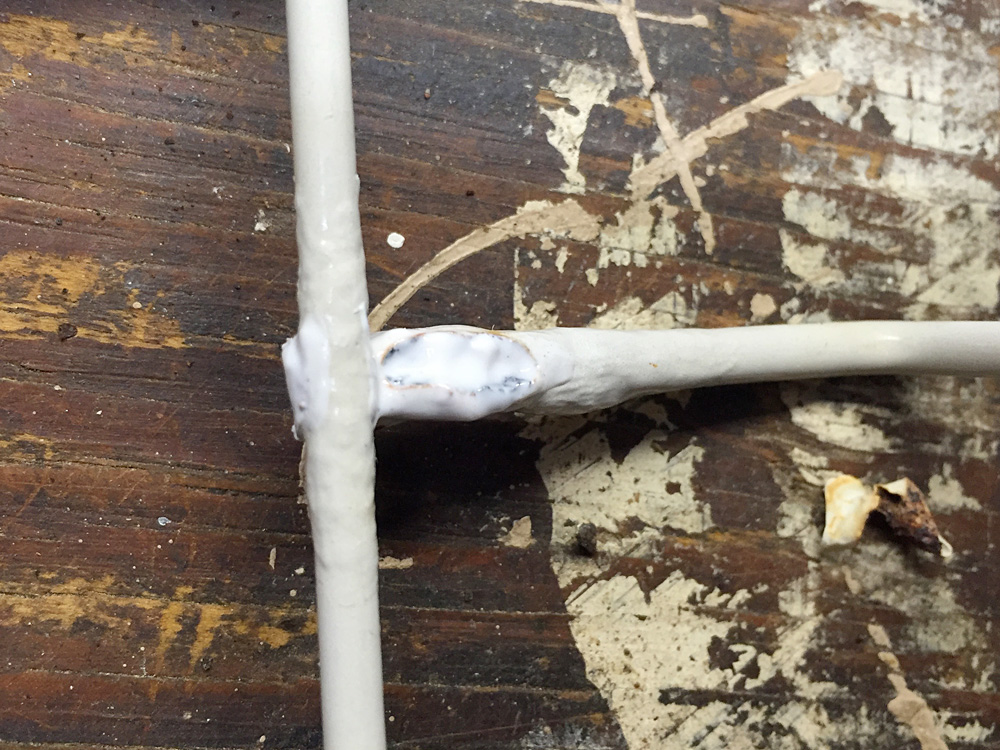
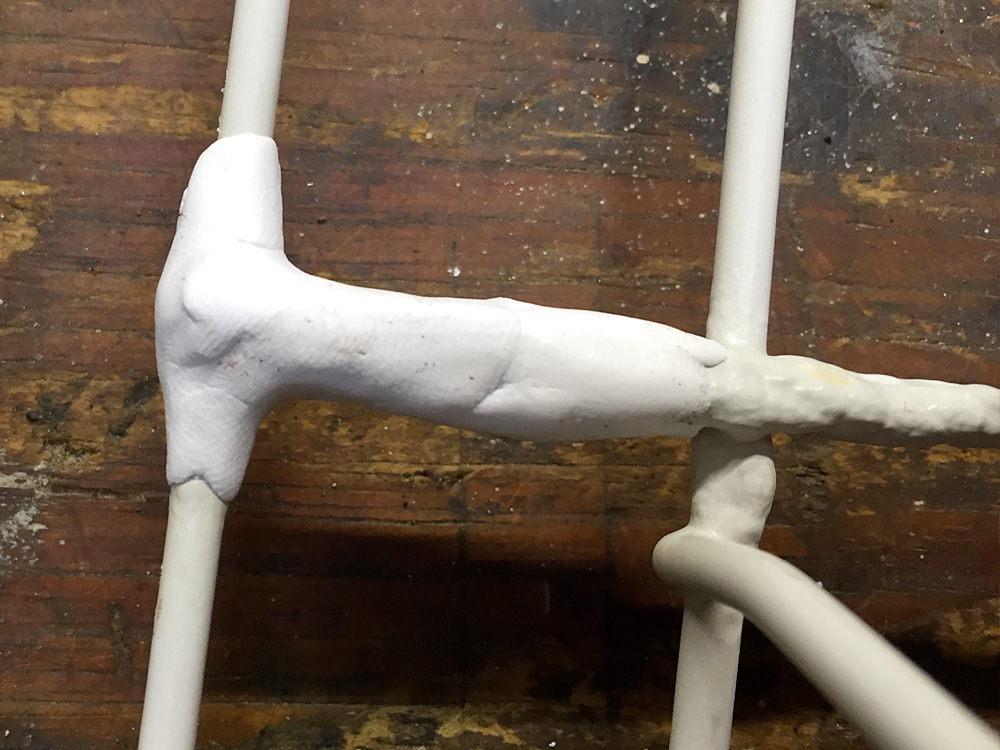
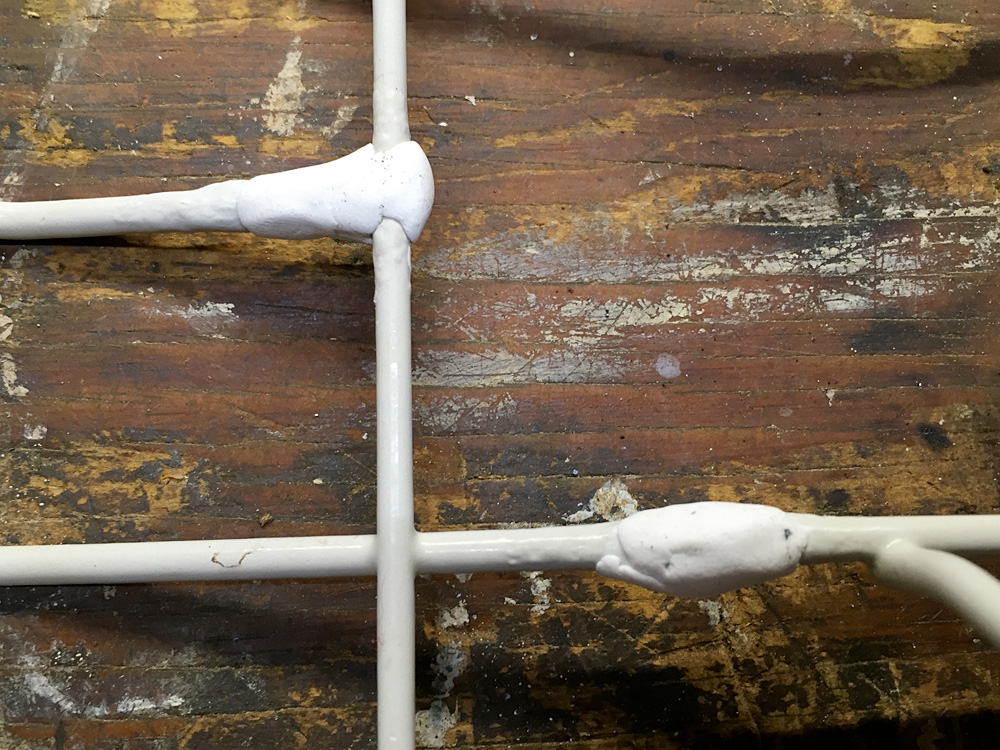
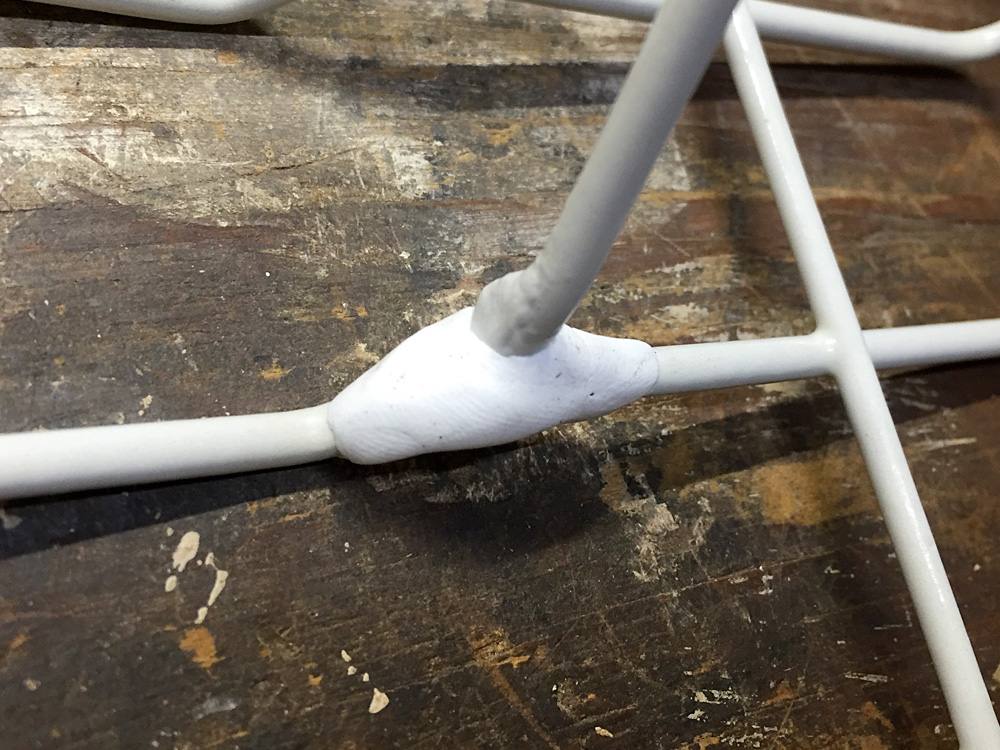
I gave the ReRack a few days to cure, then opened up the Sugru. It was my first time working with it and it was pretty fun. I’m slightly amazed how it turned out and how strong it became once it cured (it starts out as a soft putty and becomes like a hard rubber.) In the images below the Sugru is still a little rough and lumpy, if you keep sliding your fingers over it you can smooth it out and mold it a little nicer than this.
Step 6:
Let the Sugru cure for a couple of days and reinstall the rack into your dishwasher, and be glad to know that you saved it with just a little time and money.
Final thoughts:
You can get away with using either the ReRack or the Sugru by themselves. I used both because I wanted to try them, but also because our rack had gotten into really bad shape before I attempted to fix it. The choice is yours but I am happy with the performance of both so far.